space
I love Tuesdays. I love sharing , I love thinking of things to make and I love all the wonderful comments you leave me, especially the last post on the button frame and don't forget, there's still time to enter a little give away too. I read each and every comment and I love them.
space
This is a crazy time of year. Courtney is just home from finishing a successful freshman year of college and Kelsie is graduating from high school. All the "lasts" of everything are happening right now...last fund raisers, last dance recitals, last prom, last field trip, last senior project and then all the "firsts" for upcoming college. As you can imagine lots of emotions right now. And don't forget my peanut butter and jelly sandwich count down...13 more to go. When all this settles down, I'll be much better at replying!
space
This Tool Time is perfect for this crazy time of year or if your mind is like mine and you always need a list. My mind is like a sieve. If it's not down on paper...it doesn't get done.
space
This is the best To Do List Holder EVER!!! Ok, maybe I'm bias, but I do love it!
space
 space
Look what it's made from...another empty gift card. Remember the last time I used an old gift card, here.
space
These gift cards are about 3 1/4" x 5 1/4" and I used a 3" x 5" note pad.
space

Make sure the note pad has a card board back.space

You will also need some Mod Podge, which is the best thing ever invented. It's a glue and sealer in one. You'll also need a little fabric and a name badge clip which is pictured further down.

Place the gift card on the fabric...

and trace the shape.

You really only need one of these, but if you'd like to cover the back of this project, you'll need 2. You won't see the back, but if you are making them for gifts, I would.

Now spread a layer of Mod Podge over one side of the gift card.

Cover the entire surface.

Place the fabric piece right side up on the glue.

Take the Mod Podge again and paint the entire surface of the fabric to seal it. You don't have to wait until the first part is dry before you coat the top of the fabric.

Set aside until it dries completely. It doesn't take too long.

When it dries you will need to make the pocket for the front. I just used another card to cut out the fabric. The size is random, but leave about an inch all the way around except for the top. I made the fabric about an inch shorter at the top. The picture explains it better.

Fold over the top edge of the fabric about 1/4" or so.

I sewed mine, but you can use hot glue, fabric glue, stitch witchery etc...

Now take your dried, fabric covered gift card.

Place the pocket on the front of the card, right side up about 1 1/4" - 1 1/2" down from the top.
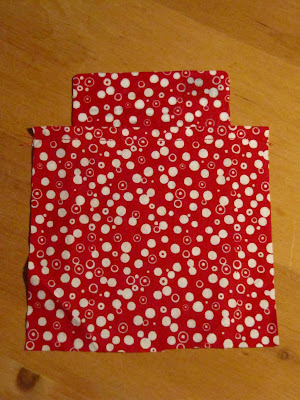
Turn the card over to hot glue down the edges.
space
I folded up the corners, then glued the sides and then finally the bottom. Don't pull it too tight. Leave the pocket a little loose to slip in the note pad. See my black silicone hot pad...I really do use it for hot gluing!! This is when you would Mod Podge or hot glue the backing fabric on if you want.

You will need to cut out the area where they hang the gift cards.

I used an x-acto knife.


All set to go.

Here's the cute front!

You need a name badge clip too. I found these in Walmart office supply section or at Staples. You can also buy them by the bag online.

Just attach the clip through the hole and snap closed.

Remember the pocket on the front?

Well, take one of your note pads...

take the card board backing...

and slip it into the pocket.

Here you have it...a cute little "To Do List" ready to clip any where. Any where you say. Not just any where.

How about here!!!

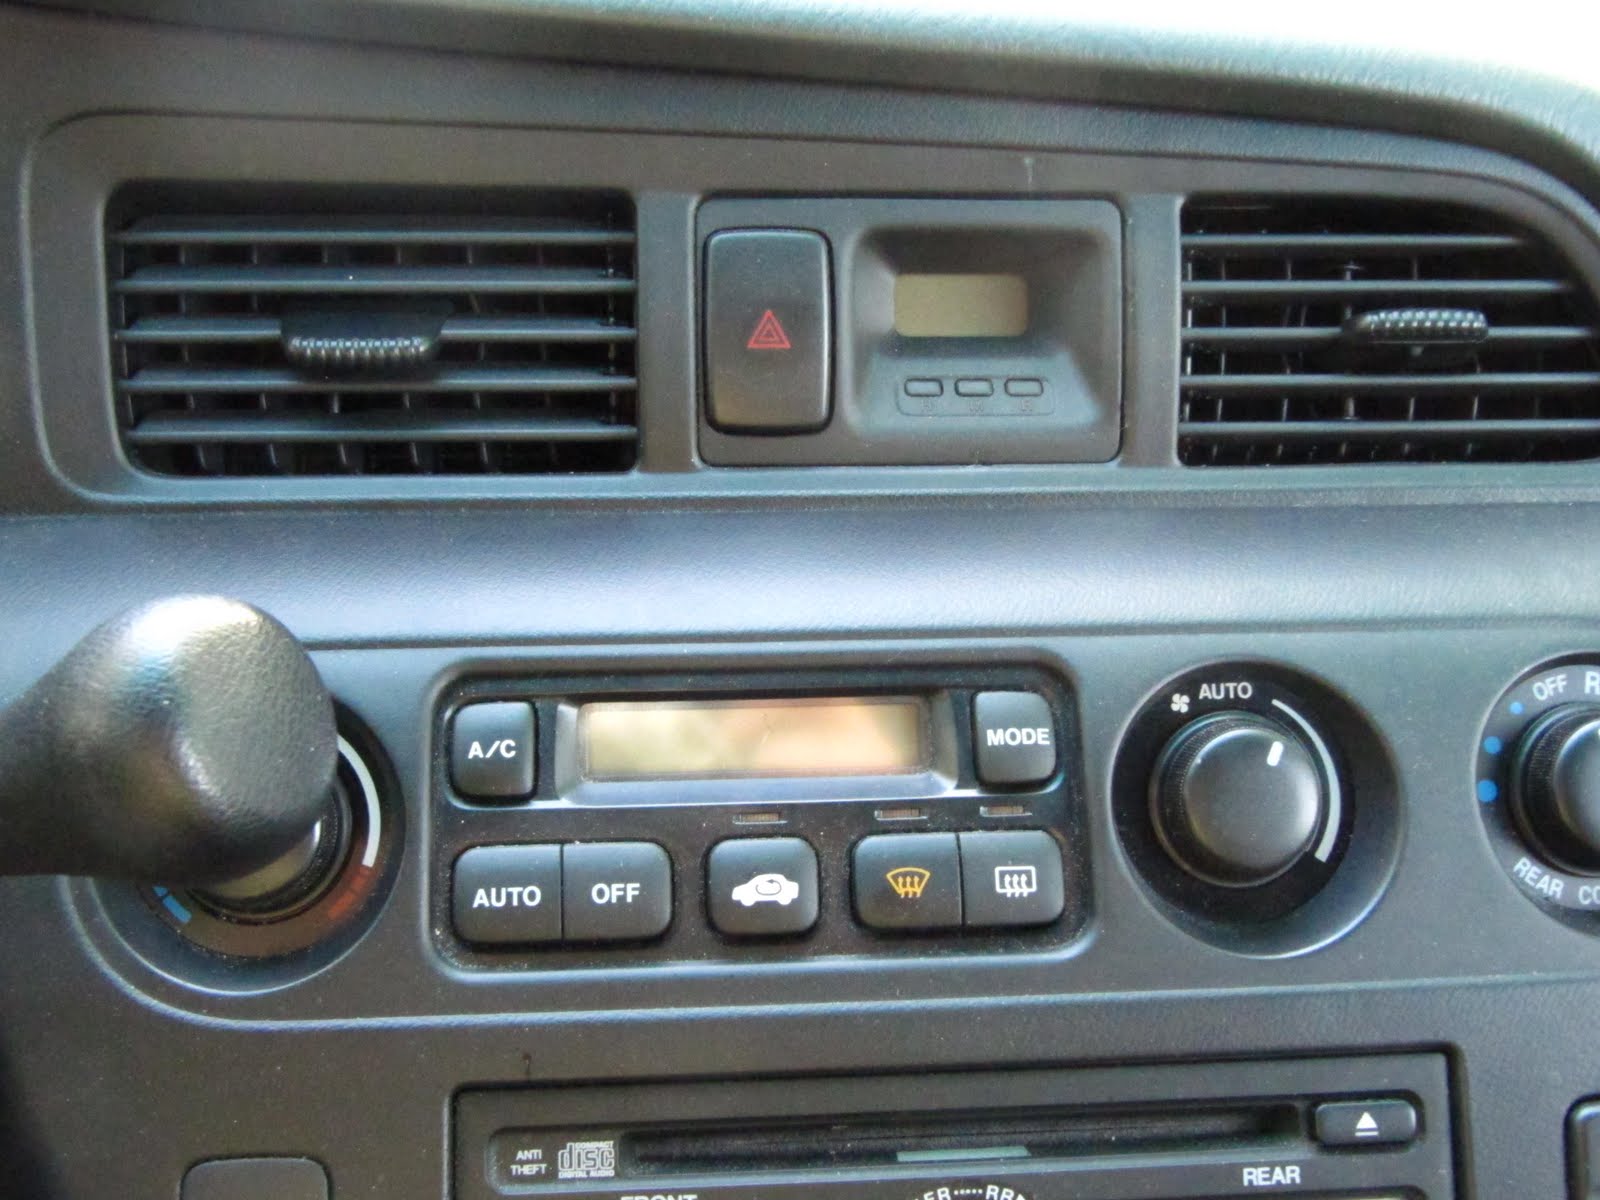
Ok, this is the part that I LOVE, LOVE, LOVE. It clips to the air vent slats in your car. Woo Hoo. A To Do List right where you can see it when you are running around doing errands like a crazy person.

Here's a close up.

I love it so much, I'll show you again! (Ignore that layer of pollen every where. It's awful this season.)

This little beauty is ready to go and I actually used it right after this picture. The list said bank, school, pick up pictures, post office. You can also unclip it and take it into the store with you and clip it to your purse.

I know some of you may not have these gift cards handy. We sure have some here with teenagers in the house, but you can always use a thick card board, template plastic, the plastic from an old binder etc. Just cut out your own shape and follow the same directions.
spaceNow I'd better see this To Do List on your To Do List!!
space
I love Tuesdays. I love sharing , I love thinking of things to make and I love all the wonderful comments you leave me, especially the last post on the button frame and don't forget, there's still time to enter a little give away too. I read each and every comment and I love them.
space
This is a crazy time of year. Courtney is just home from finishing a successful freshman year of college and Kelsie is graduating from high school. All the "lasts" of everything are happening right now...last fund raisers, last dance recitals, last prom, last field trip, last senior project and then all the "firsts" for upcoming college. As you can imagine lots of emotions right now. And don't forget my peanut butter and jelly sandwich count down...13 more to go. When all this settles down, I'll be much better at replying!
space
This Tool Time is perfect for this crazy time of year or if your mind is like mine and you always need a list. My mind is like a sieve. If it's not down on paper...it doesn't get done.
space
This is the best To Do List Holder EVER!!! Ok, maybe I'm bias, but I do love it!
space
 space
Look what it's made from...another empty gift card. Remember the last time I used an old gift card, here.
space
These gift cards are about 3 1/4" x 5 1/4" and I used a 3" x 5" note pad.
space

Make sure the note pad has a card board back.space

You will also need some Mod Podge, which is the best thing ever invented. It's a glue and sealer in one. You'll also need a little fabric and a name badge clip which is pictured further down.

Place the gift card on the fabric...

and trace the shape.

You really only need one of these, but if you'd like to cover the back of this project, you'll need 2. You won't see the back, but if you are making them for gifts, I would.

Now spread a layer of Mod Podge over one side of the gift card.

Cover the entire surface.

Place the fabric piece right side up on the glue.

Take the Mod Podge again and paint the entire surface of the fabric to seal it. You don't have to wait until the first part is dry before you coat the top of the fabric.

Set aside until it dries completely. It doesn't take too long.

When it dries you will need to make the pocket for the front. I just used another card to cut out the fabric. The size is random, but leave about an inch all the way around except for the top. I made the fabric about an inch shorter at the top. The picture explains it better.

Fold over the top edge of the fabric about 1/4" or so.

I sewed mine, but you can use hot glue, fabric glue, stitch witchery etc...

Now take your dried, fabric covered gift card.

Place the pocket on the front of the card, right side up about 1 1/4" - 1 1/2" down from the top.

Turn the card over to hot glue down the edges.
space
I folded up the corners, then glued the sides and then finally the bottom. Don't pull it too tight. Leave the pocket a little loose to slip in the note pad. See my black silicone hot pad...I really do use it for hot gluing!! This is when you would Mod Podge or hot glue the backing fabric on if you want.

You will need to cut out the area where they hang the gift cards.

I used an x-acto knife.


All set to go.

Here's the cute front!

You need a name badge clip too. I found these in Walmart office supply section or at Staples. You can also buy them by the bag online.

Just attach the clip through the hole and snap closed.

Remember the pocket on the front?

Well, take one of your note pads...

take the card board backing...

and slip it into the pocket.

Here you have it...a cute little "To Do List" ready to clip any where. Any where you say. Not just any where.

How about here!!!
Ok, this is the part that I LOVE, LOVE, LOVE. It clips to the air vent slats in your car. Woo Hoo. A To Do List right where you can see it when you are running around doing errands like a crazy person.

Here's a close up.

I love it so much, I'll show you again! (Ignore that layer of pollen every where. It's awful this season.)

This little beauty is ready to go and I actually used it right after this picture. The list said bank, school, pick up pictures, post office. You can also unclip it and take it into the store with you and clip it to your purse.

I know some of you may not have these gift cards handy. We sure have some here with teenagers in the house, but you can always use a thick card board, template plastic, the plastic from an old binder etc. Just cut out your own shape and follow the same directions.
spaceNow I'd better see this To Do List on your To Do List!!
space
Have a wonderful Tuesday,
~Karen~
~Karen~


